Introduction: The Rise of Homemade Plant Milk
In recent years, the trend of making plant milk at home has gained significant momentum, driven by a combination of health, environmental, and lifestyle factors. Homemade plant milk offers numerous benefits, including the ability to customize flavors and ingredients to suit personal preferences, ensuring a fresher and often more nutritious alternative to store-bought options. This customization allows individuals to avoid unwanted additives and preservatives commonly found in commercial varieties.
Environmental consciousness also plays a crucial role in this shift. The production of plant-based milks is generally more sustainable than dairy milk, using fewer resources such as water and land, and generating lower greenhouse gas emissions (Stone Pier Press). By making plant milk at home, consumers can further reduce their carbon footprint by eliminating packaging waste associated with store-bought products, which often involve non-recyclable materials.
However, the benefits of homemade plant milk can only be fully realized with proper storage practices. As these milks lack preservatives, understanding how to store them effectively is essential to maintain their freshness and safety. Proper storage not only extends the shelf life but also preserves the nutritional quality, ensuring that each batch remains as delightful and wholesome as intended.
This guide will delve into the best practices for storing homemade plant milk, offering insights into temperature control, container selection, and even freezing techniques. By mastering these storage methods, you can enjoy the full spectrum of benefits that homemade plant milk has to offer, while also contributing positively to environmental sustainability.

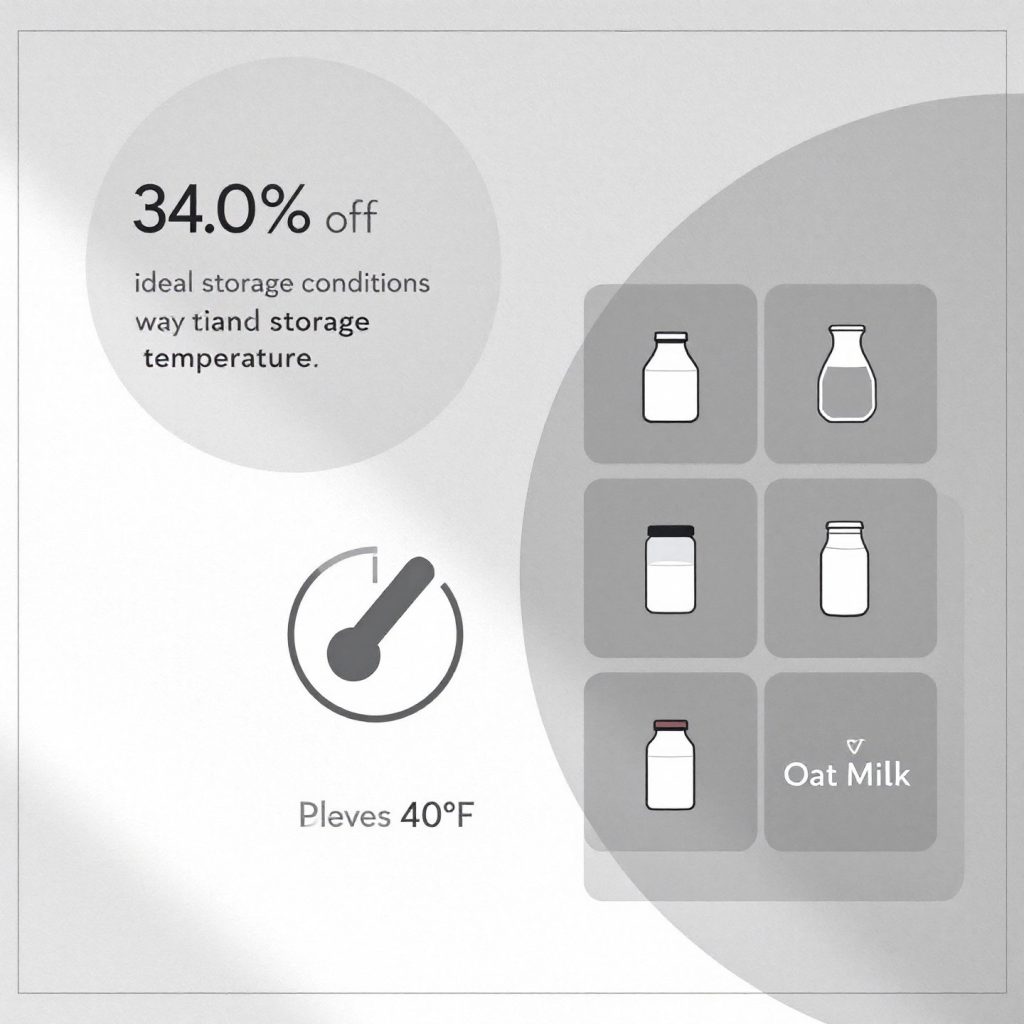
Infographic showing ideal storage conditions for plant milk, emphasizing temperature control (AI-generated)
Understanding the Basics of Plant Milk Storage
Storing homemade plant milk properly is crucial to preserving its freshness and nutritional quality. The first fundamental principle is temperature control. Homemade plant milk should be refrigerated immediately after preparation to inhibit bacterial growth and spoilage. The ideal storage temperature is below 40°F (approximately 4°C), as this significantly slows the growth of microorganisms that could compromise the milk’s safety and taste.
Temperature Control
Refrigeration is essential for maintaining the quality of plant milk. Unlike commercial varieties, homemade plant milk does not contain preservatives, making it more susceptible to spoilage. Therefore, storing it in the coldest part of your refrigerator, typically the back, ensures a consistent temperature. According to Food Safety Government, processed plant milk must be kept below 5°C to prevent bacterial growth, which applies equally to homemade versions.
Container Selection
Selecting the right storage container is equally important. Airtight containers are recommended as they prevent exposure to air, which can lead to oxidation and spoilage. Glass jars and BPA-free plastic bottles are popular choices for storing plant milk. Glass is non-reactive and does not absorb odors, while BPA-free plastics offer lightweight convenience and are less prone to breakage.
When choosing a container, consider one with a tight seal to maintain freshness. Containers like Snappies offer an airtight, leak-resistant seal, making them ideal for plant milk storage. This ensures that no external contaminants can enter, thereby preserving the milk’s quality for longer periods.
Proper cleaning and preparation of containers are also crucial. Wash containers thoroughly with hot, soapy water and rinse well to remove any residues that could spoil the milk. Sterilizing containers by boiling them briefly can add an extra layer of protection against contamination.
By adhering to these plant milk storage tips, you can enjoy homemade plant milk that remains fresh, nutritious, and safe to consume. Understanding these basics not only enhances your homemade plant milk experience but also encourages sustainable practices by reducing waste and reliance on commercial packaging.
Choosing the Right Containers for Storage
When it comes to storing homemade plant milk, the choice of container plays a pivotal role in maintaining its freshness and quality. Selecting the right container not only helps in preserving the milk’s flavor and nutritional value but also ensures safety and convenience in handling.
Glass Jars for Plant Milk
Glass jars are a popular choice for storing plant milk due to their non-reactive nature. Unlike plastic, glass does not leach chemicals into the milk, making it a safer option for those concerned about potential contaminants. Additionally, glass jars are impermeable and do not absorb odors or flavors, ensuring that your plant milk retains its intended taste. They are also environmentally friendly, being fully recyclable and reusable.
However, glass jars can be heavy and prone to breakage, which might be a consideration if you plan to transport your milk frequently. To mitigate this, opt for jars with thick walls and secure lids to prevent spills and accidents. Brands like Ball Mason offer durable glass jars that are ideal for kitchen storage.
BPA-Free Containers for Milk
BPA-free plastic containers offer a lightweight and shatterproof alternative to glass. These containers are particularly useful for households with children or for those who need to carry plant milk on the go. BPA-free plastics are designed to avoid the harmful effects associated with Bisphenol A, a chemical previously used in plastics that can seep into food and beverages.
While BPA-free containers are convenient, they may not offer the same level of protection against odor absorption as glass. Therefore, it is crucial to clean them thoroughly after each use to prevent any lingering smells that could affect the milk’s flavor. Look for containers with airtight seals to minimize exposure to air and bacteria, such as those from Rubbermaid.
Cleaning and Preparing Containers
Regardless of the type of container you choose, proper cleaning and preparation are essential to ensure optimal storage conditions. Before using any container, wash it with hot, soapy water and rinse thoroughly to remove any residues. For an added layer of protection, consider sterilizing glass jars by boiling them for a few minutes, which helps eliminate any potential bacteria.
Regular maintenance of your storage containers will not only extend their lifespan but also protect the integrity of your homemade plant milk. By investing in high-quality, suitable containers and maintaining them properly, you can maximize the freshness and longevity of your plant milk, enriching your homemade plant milk experience.
With the right storage solutions in place, you can confidently experiment with different plant milk recipes, knowing that your creations will remain fresh and flavorful. Next, we’ll explore how freezing techniques can further extend the shelf life of your homemade plant milk.

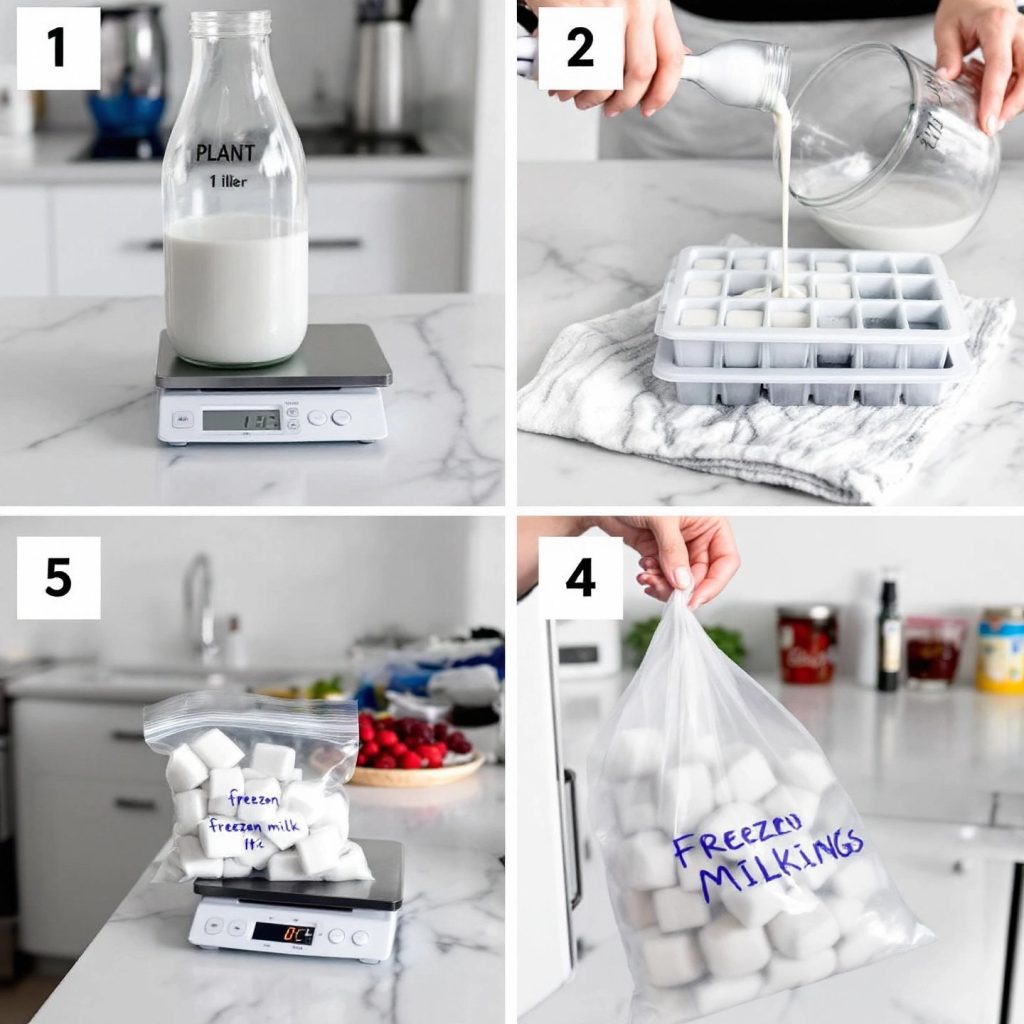
Step-by-step guide to freezing plant milk for extended shelf life (AI-generated)
Extending Shelf Life with Freezing Techniques
Freezing is an excellent method to prolong the shelf life of homemade plant milk, allowing you to enjoy your creations long after they are made. While fresh plant milk is always preferable, freezing provides a practical solution for those who find themselves with more milk than they can consume within a few days. With proper techniques, you can freeze plant milk for up to six months without significant loss of quality.
Step-by-Step Freezing Instructions
To freeze your plant milk effectively, start by selecting an appropriate container. Airtight, freezer-safe containers or bags are ideal to prevent exposure to air, which can affect the milk’s quality. If you’re looking to freeze smaller portions, consider using an ice cube tray with a lid. Fill each section about three-quarters full to allow for expansion as the milk freezes. Once frozen, transfer the milk cubes to a labeled freezer bag for easy access and to save space (Healthline).
When you’re ready to use the frozen milk, it’s important to thaw it safely. The best method is to transfer the frozen milk to the refrigerator and let it defrost slowly. This method minimizes the risk of bacterial growth that can occur if milk is thawed at room temperature. If you need to speed up the process, submerge the sealed bag in cold water, but avoid warm or hot water to prevent spoilage.
Addressing Texture and Flavor Changes
One common concern with freezing plant milk is the potential change in texture. Upon thawing, you may notice that the milk has become grainy or has separated. This is typical for many plant-based milks, including almond and oat milk. To restore a smoother consistency, blend the thawed milk briefly before using it. This helps reconstitute the solids and liquids, making it more palatable for drinking or cooking.
Despite these changes, frozen plant milk remains a valuable ingredient for cooking and baking, where texture changes are less noticeable. Use it in smoothies, baked goods, or soups, where it can seamlessly integrate without affecting the final product’s quality.
Freezing plant milk not only extends its usability but also reduces waste, allowing you to experiment with different recipes without the pressure to consume everything immediately. As we continue, we’ll explore natural preservatives and additives that can further enhance the longevity of your homemade plant milk.
Natural Preservatives and Additives
For those who prefer to avoid synthetic preservatives, natural methods offer a viable alternative to extend the shelf life of homemade plant milk. By incorporating certain natural preservatives and additives, you can enhance both the longevity and nutritional value of your plant-based creations. Let’s explore some of these options.
Vitamin E: A Potent Antioxidant
Vitamin E is a powerful antioxidant that not only protects plant milk from oxidative damage but also contributes to its nutritional profile. Found naturally in seeds and nuts, such as almonds and sunflower seeds, vitamin E can be added to milk during the blending process. This addition helps preserve the milk by preventing spoilage and maintaining its flavor. However, it’s important to use vitamin E in moderation, as excessive amounts can lead to an undesirable taste and potential health issues. Aim for a daily intake of around 10-15mg, which can be easily achieved by incorporating vitamin E-rich ingredients into your homemade plant milk (Vegan Milker).
Citric Acid: Enhancing Shelf Life
Citric acid, a natural preservative found in citrus fruits, can be used to extend the shelf life of plant milk by lowering its pH level, thereby inhibiting bacterial growth. Adding a small amount of citric acid during the preparation of plant milk can help maintain its freshness. It’s crucial to use citric acid sparingly, as too much can alter the milk’s flavor profile. A general guideline is to add about 1/4 teaspoon per quart of milk, adjusting based on personal taste preferences.
Other Natural Preservatives
In addition to vitamin E and citric acid, other natural preservatives like sea salt and rosemary extract can also be utilized. Sea salt acts as a mild preservative by drawing out moisture and reducing microbial activity, while rosemary extract provides antioxidant benefits similar to vitamin E. When using these additives, it’s essential to balance their quantities to avoid overpowering the milk’s natural flavor.
By employing these natural preservatives and additives, you can effectively extend the shelf life of your homemade plant milk without compromising its quality. These methods not only help in preserving the milk but also enhance its nutritional content, making it a healthier choice for you and your family. As we move forward, we’ll identify common mistakes to avoid when storing plant milk to ensure it remains fresh and safe for consumption.

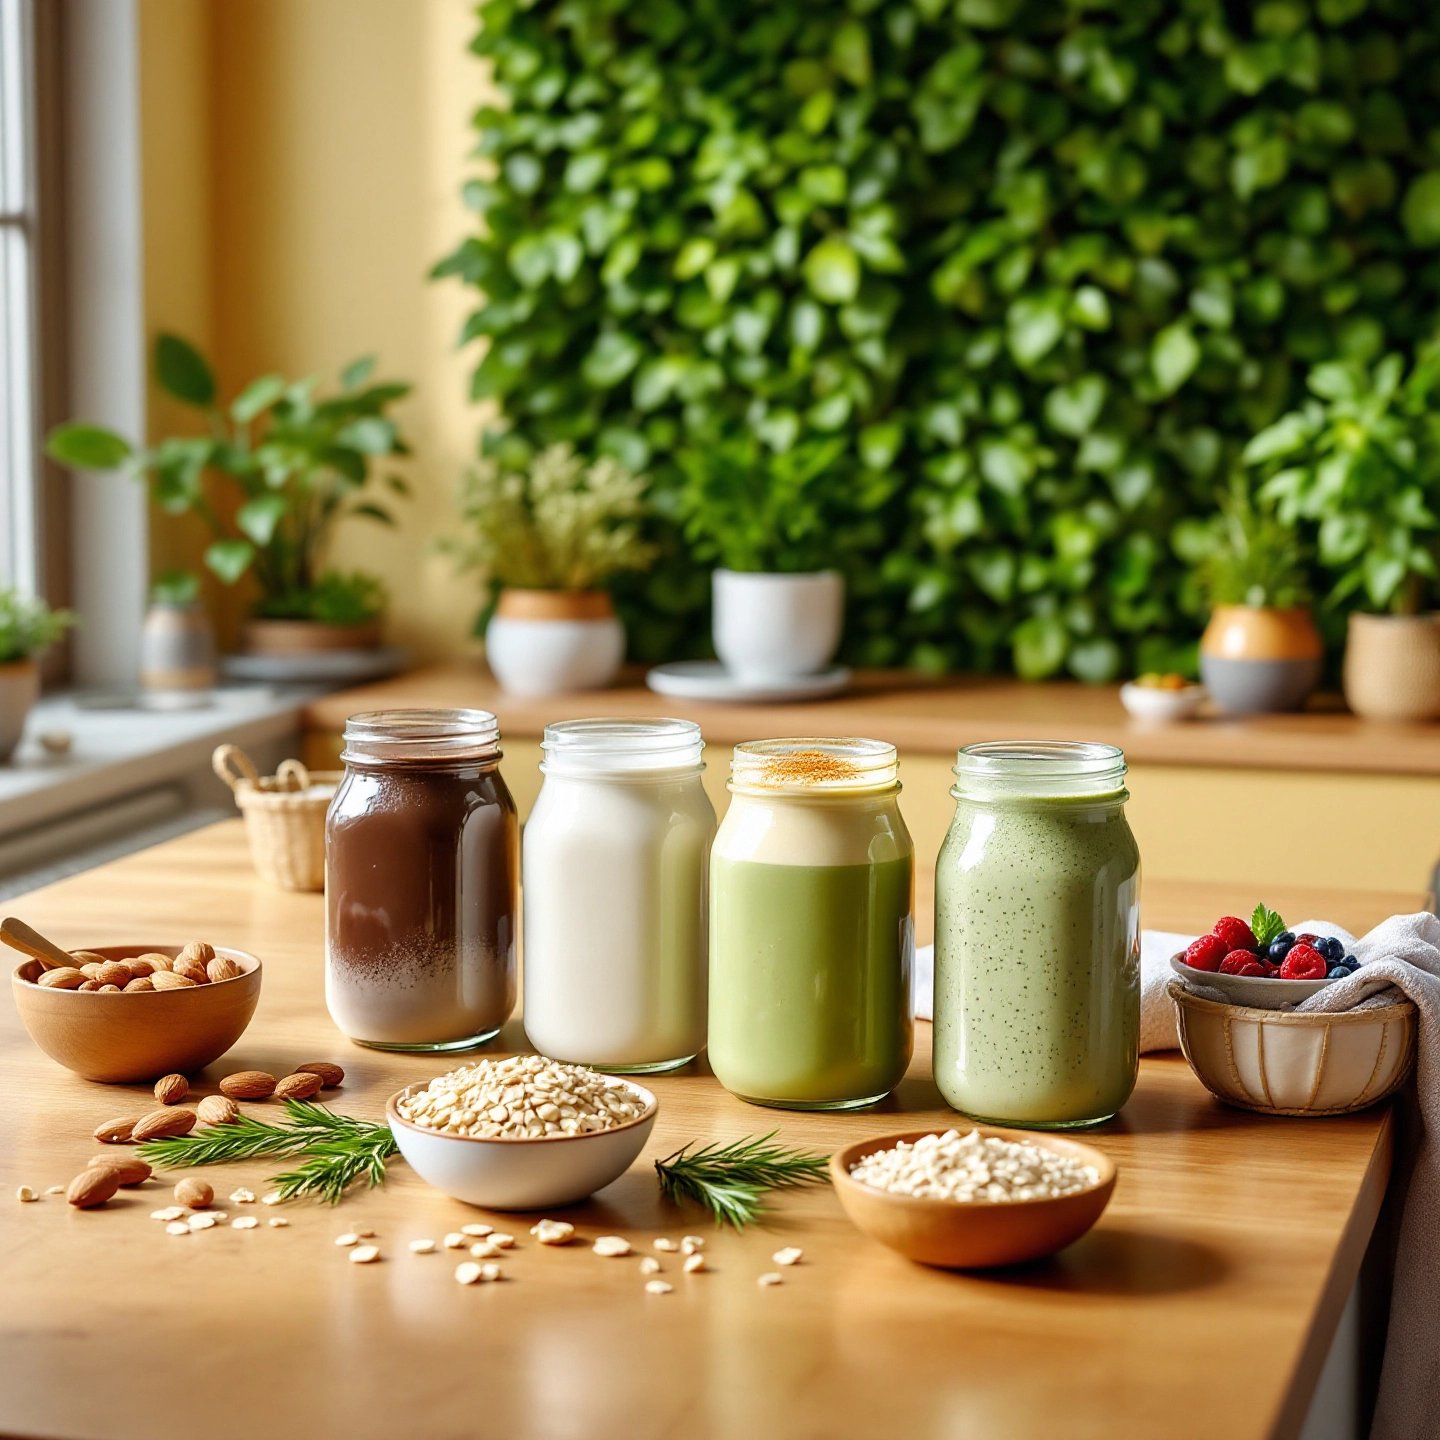
Avoid common storage mistakes to keep plant milk fresh and safe (AI-generated)
Common Mistakes to Avoid
Storing homemade plant milk properly is essential to maintain its freshness and nutritional value. However, several common mistakes can compromise these qualities, leading to spoilage and waste. Understanding these pitfalls and how to avoid them can help ensure your plant milk remains safe and delicious.
Improper Sealing
One of the most frequent mistakes in storing plant milk is not sealing the container properly. An inadequate seal allows air and bacteria to enter, accelerating spoilage and potentially leading to unpleasant odors and flavors. To prevent this, always use airtight containers. Glass jars with rubber gaskets or BPA-free plastic bottles with secure lids are excellent choices. Ensure the lid is tightly closed after each use to maintain the milk’s quality.
Exposure to Fluctuating Temperatures
Another critical error is exposing plant milk to fluctuating temperatures. Storing milk in the refrigerator door, where temperatures vary with frequent opening, can lead to faster spoilage. Instead, place your plant milk in the back of the refrigerator where the temperature is more stable. Keeping the fridge at a consistent temperature below 40°F (approximately 4°C) is crucial to prevent bacterial growth, as highlighted by Arummi.
Neglecting Regular Spoilage Checks
Failing to regularly check for signs of spoilage can result in consuming milk that is no longer safe. Always inspect the milk for changes in smell, texture, or color before use. Signs of spoilage include a sour odor, curdled texture, or off-color. If you notice any of these, it’s best to discard the milk to avoid health risks.
By avoiding these mistakes in storing plant milk, you can significantly extend its shelf life and ensure it remains a safe and enjoyable addition to your diet. Implementing these best practices not only enhances your homemade plant milk experience but also encourages a sustainable approach to food storage. As we conclude, remember that proper storage techniques are key to maximizing the benefits of your plant-based creations.
Conclusion: Mastering Plant Milk Storage
Throughout this guide, we’ve explored various strategies to ensure your homemade plant milk remains fresh, flavorful, and safe for consumption. From understanding the significance of temperature control and choosing the right containers to utilizing freezing techniques and natural preservatives, each step plays a crucial role in enhancing the longevity and quality of your plant-based creations.
Proper storage is not merely about extending shelf life; it’s about preserving the nutritional integrity and taste of your homemade plant milk. By implementing these best practices for plant milk, you can significantly reduce waste and enjoy the full benefits of your efforts. Remember, the key to mastering plant milk storage lies in consistency and attention to detail. Regularly check for signs of spoilage and adjust your methods as needed to suit your specific ingredients and environmental conditions.
As you continue to experiment with different storage techniques, consider the advantages of using plant milk makers. These devices offer convenience and consistency, often featuring pre-set functions that simplify the process of making and storing plant milk at home. By investing in a high-quality plant milk maker, you can streamline your production process and ensure a steady supply of fresh, homemade milk.
For those interested in exploring top-rated plant milk makers, we recommend visiting this guide to discover options that align with your needs and preferences. These tools not only enhance the ease of making plant milk but also contribute to a more sustainable lifestyle by reducing reliance on store-bought alternatives.
In conclusion, mastering the art of storing homemade plant milk empowers you to tailor your dietary choices to your lifestyle and environmental values. Embrace the journey of making and storing your plant milk, knowing that each step contributes to a healthier, more sustainable future.
Frequently Asked Questions
1. How to preserve homemade plant milk?
Preserve homemade plant milk by storing it in airtight containers in the fridge, ideally at temperatures below 40°F. Add natural preservatives like vitamin E for extended freshness.
2. How do you increase the shelf life of plant-based milk?
Increase shelf life by using airtight containers, refrigerating immediately, and adding natural preservatives such as citric acid or vitamin E. Consider freezing for longer storage.
3. How do you preserve homemade oat milk?
Preserve oat milk by storing it in glass jars in the fridge and using airtight seals. It can last up to five days; adding a touch of sea salt can help extend its freshness.
4. How to store plant milk?
Store plant milk in the back of the fridge where it’s coldest, in airtight containers to prevent spoilage. Freezing is also an option for longer storage.
5. What are natural preservatives for plant milk?
Natural preservatives include vitamin E, citric acid, and rosemary extract. These help extend shelf life without altering flavor significantly when used in moderation.
