Introduction: The Rise of Homemade Barista Oat Milk
In recent years, the trend of making homemade barista-style oat milk has been on the rise. It’s not just a fad; there are some solid reasons behind this shift. For starters, crafting your own oat milk at home can be incredibly cost-effective. Imagine saving those extra dollars for your next coffee shop visit, or maybe a new book to enjoy with your latte. Plus, you get to customize the flavor and texture to your liking, which is a huge win for those with specific tastes or dietary needs.
Another big draw is the environmental benefit. Oat milk production generally requires less water and land compared to dairy milk, making it a more sustainable choice for eco-conscious consumers. And let’s not forget the fun part—experimenting in your kitchen to create that creamy, frothy texture that coffee shops have made so popular. With a little practice, you can recreate that luxurious feel right at home.
This guide will walk you through everything you need to know, from selecting the best ingredients to mastering the techniques for a perfect pour. Whether you’re a seasoned oat milk enthusiast or just starting out, you’ll find valuable insights to enhance your homemade barista oat milk game. So, grab your blender, and let’s dive into the world of delicious, homemade oat milk!
Understanding Barista-Style Oat Milk
Ever wondered why your homemade oat milk doesn’t quite match up to the creamy delight you get at your favorite coffee shop? The secret lies in the ‘barista-style’ label. Barista oat milk is specifically crafted to froth, steam, and blend seamlessly into hot drinks, providing that luscious texture we all love. The key to these characteristics is the addition of fats and sometimes enzymes, which help the milk mimic the properties of dairy milk.
Commercial barista oat milks, like those from popular brands, often include extra oils, such as canola or sunflower oil, to enhance creaminess. This is crucial because the higher fat content stabilizes the milk when it’s heated, preventing it from splitting in your coffee. Imagine trying to make a cappuccino with regular oat milk—it might end up more like a watery mess than a creamy delight!
Another factor is the use of enzymes that alter the structure of proteins in the oat milk, allowing it to foam beautifully. This is why when you steam barista oat milk, you get that silky micro-foam perfect for latte art. In contrast, regular oat milk lacks these enhancements and is more suited for pouring over cereal or adding to smoothies.
So, if you’re aiming for that coffeehouse experience at home, understanding these differences is essential. By using the right techniques and ingredients, you can elevate your homemade oat milk to barista standards, making every sip a delight. Next, let’s dive into the essential ingredients you’ll need to achieve this creamy perfection.

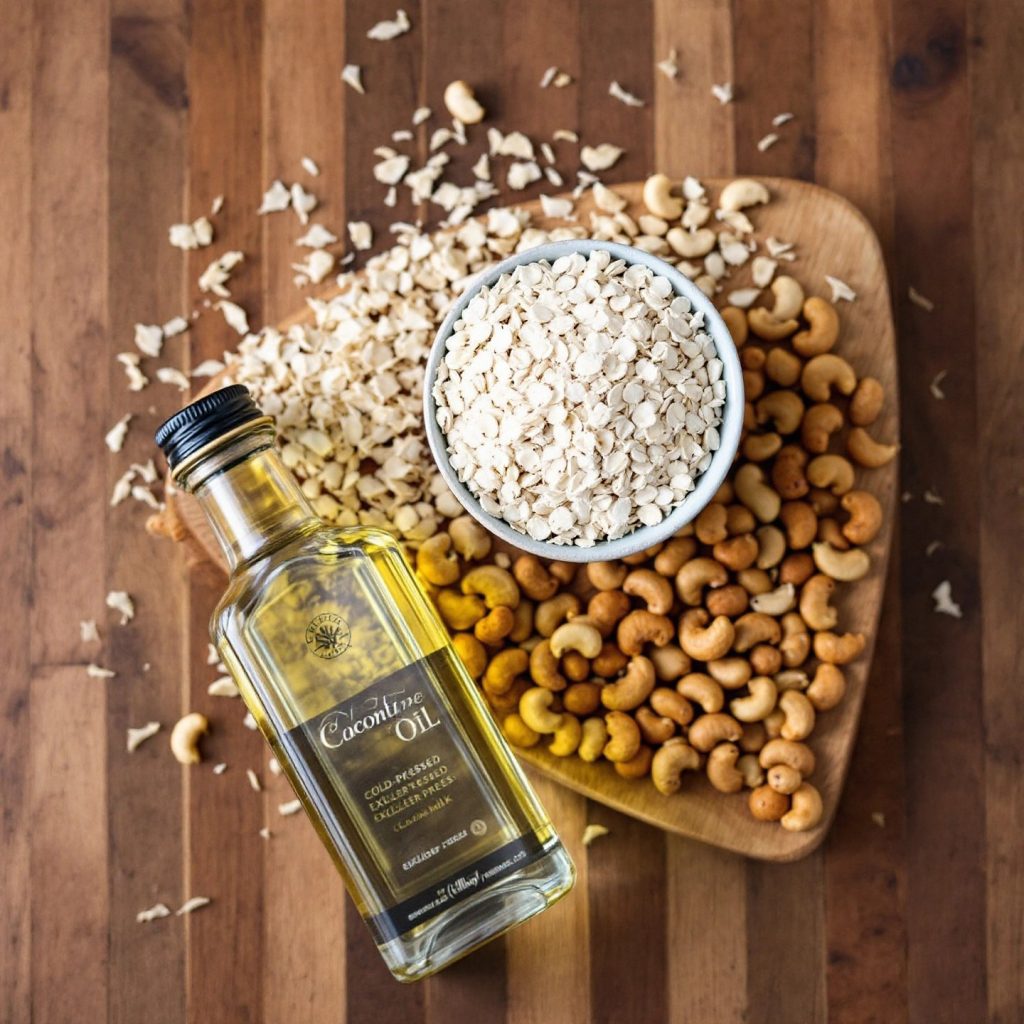
Key ingredients for making barista-style oat milk at home (AI-generated)
Essential Ingredients for Barista Oat Milk
Creating barista-quality oat milk at home starts with selecting the right ingredients. The star of the show is, of course, the oats. But not just any oats will do. For the best results, opt for rolled oats. They’re less processed than quick oats, which means they retain more of their natural goodness and help produce a creamier milk. Plus, rolled oats are less likely to turn slimy when blended, a common pitfall when making oat milk.
But oats alone won’t give you that rich, frothy texture you find in commercial barista oat milks. That’s where additional ingredients come into play. Consider incorporating a small amount of neutral oil, like canola or sunflower oil, into your recipe. This mimics the fat content found in products like the Oatly Barista Edition, which uses low erucic acid rapeseed oil to enhance creaminess and stability in hot drinks (source).
If you’re feeling adventurous, try adding a handful of cashews or coconut. These ingredients not only boost the creaminess but also help with frothing. Cashews, in particular, blend smoothly and add a subtle nutty flavor without overpowering the oats. For those who prefer a tropical twist, coconut can offer a delightful hint of sweetness.
Lastly, don’t forget a pinch of salt. It might seem minor, but salt enhances the overall flavor, making your oat milk taste more balanced and delicious. By carefully selecting and combining these ingredients, you can replicate the luxurious texture of commercial barista oat milk right in your kitchen. Ready to get started? Let’s move on to the step-by-step recipe that will guide you through the process.

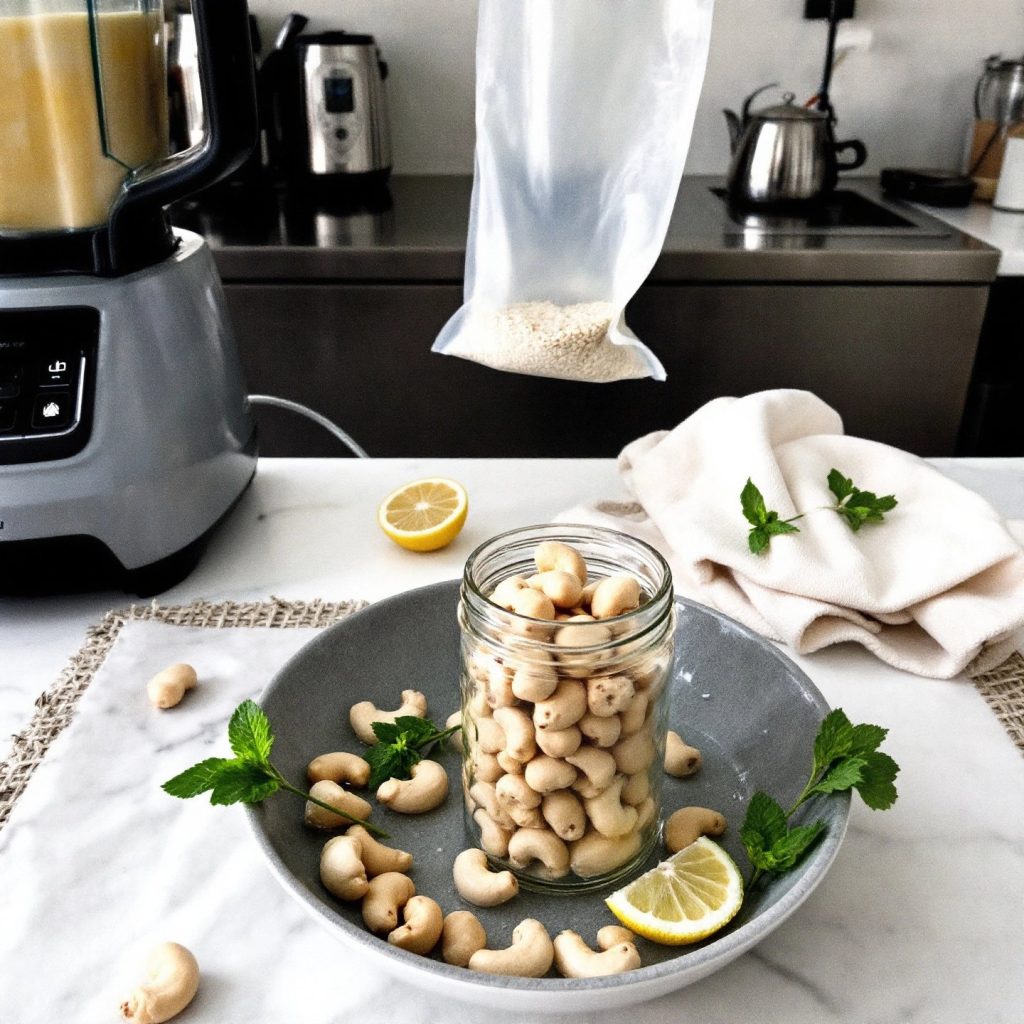
Follow these steps to create creamy homemade oat milk (AI-generated)
Step-by-Step Barista Oat Milk Recipe
Ready to make your own creamy, barista-style oat milk at home? Follow this step-by-step guide to create a delicious alternative to store-bought varieties. Not only will you save money, but you’ll also enjoy the satisfaction of crafting your own perfect blend.
Gather Your Ingredients
Start with 1 cup of rolled oats, 3-4 cups of cold filtered water, a small handful of cashews (about 1/4 cup), and a pinch of salt. For added creaminess, include 1 tablespoon of unsweetened shredded coconut or a neutral oil like canola. If you like a hint of sweetness, consider adding a date or a splash of maple syrup. These ingredients will help you achieve that luscious texture reminiscent of your favorite coffee shop blend.
Prepare and Blend
First, soak the cashews for 1-2 hours in water to soften them. This step is crucial for achieving a smooth consistency. Once soaked, drain and rinse them. Add the oats, cashews, coconut (or oil), salt, and cold water to a blender. Blend on high speed for about 30-45 seconds. Be careful not to over-blend, as this can heat the mixture and make it slimy. Keeping everything cold is key to preventing this common issue.
Strain for Smoothness
Next, strain the mixture through a nut milk bag or a fine cheesecloth into a large bowl. This step removes any remaining pulp, leaving you with a silky-smooth milk. Gently squeeze the bag to extract as much liquid as possible, but avoid pressing too hard to prevent pulp from seeping through. The leftover pulp can be saved for baking or added to smoothies—waste not, want not!
Flavor and Store
Once strained, taste your oat milk and adjust the flavors if needed. Add more salt or sweetener to suit your taste. Pour the milk into a sealable container and store it in the fridge. It should last about 3-5 days. Remember, homemade oat milk tends to separate, so give it a good shake before each use.
With these steps, you can create a barista oat milk recipe that’s not only cost-effective but also deliciously creamy. Now that you’ve mastered the basics, let’s explore techniques to perfect the texture in the next section.
Techniques for Achieving the Perfect Texture
Getting that perfect, creamy texture in homemade barista oat milk can feel like a triumph. It’s all about mastering a few key techniques. One of the first steps is controlling your blending time. You want to blend the oats just enough to break them down, but not so long that they release too much starch, which can lead to sliminess. Aim for about 30-45 seconds of blending. This sweet spot helps in achieving a smooth consistency without the unwanted gooey texture.
Temperature also plays a crucial role. Using cold water is essential to prevent the oats from becoming slimy. It might sound a bit odd, but cold water keeps the starches in check. And if you’re looking to heat your oat milk, do it gently. A slow, steady increase in temperature will help maintain that creamy texture without turning it into pudding.
Straining is another step where precision matters. Using a nut milk bag or a fine cheesecloth ensures you remove all the pulp, leaving you with silky oat milk. When you strain, do it gently—squeeze just enough to extract the milk without forcing the pulp through. This prevents any graininess in the final product.
Using Enzymes for an Extra Edge
For those willing to experiment a bit more, enzymes can be a game-changer. Commercial oat milk brands often use enzymes to break down starches, resulting in a smoother and sweeter milk. You can mimic this at home by adding a small amount of digestive enzymes, such as amylase, during the soaking process. This helps in breaking down the starches, reducing sliminess and enhancing the milk’s natural sweetness. However, it’s important to note that while this method can improve texture, it might slightly reduce the creaminess.
By mastering these techniques, you can create oat milk that rivals the store-bought versions in texture and taste. With your creamy, frothy oat milk ready, the next step is to enhance its frothing and steaming capabilities for the perfect homemade latte. Let’s dive into that in the following section.

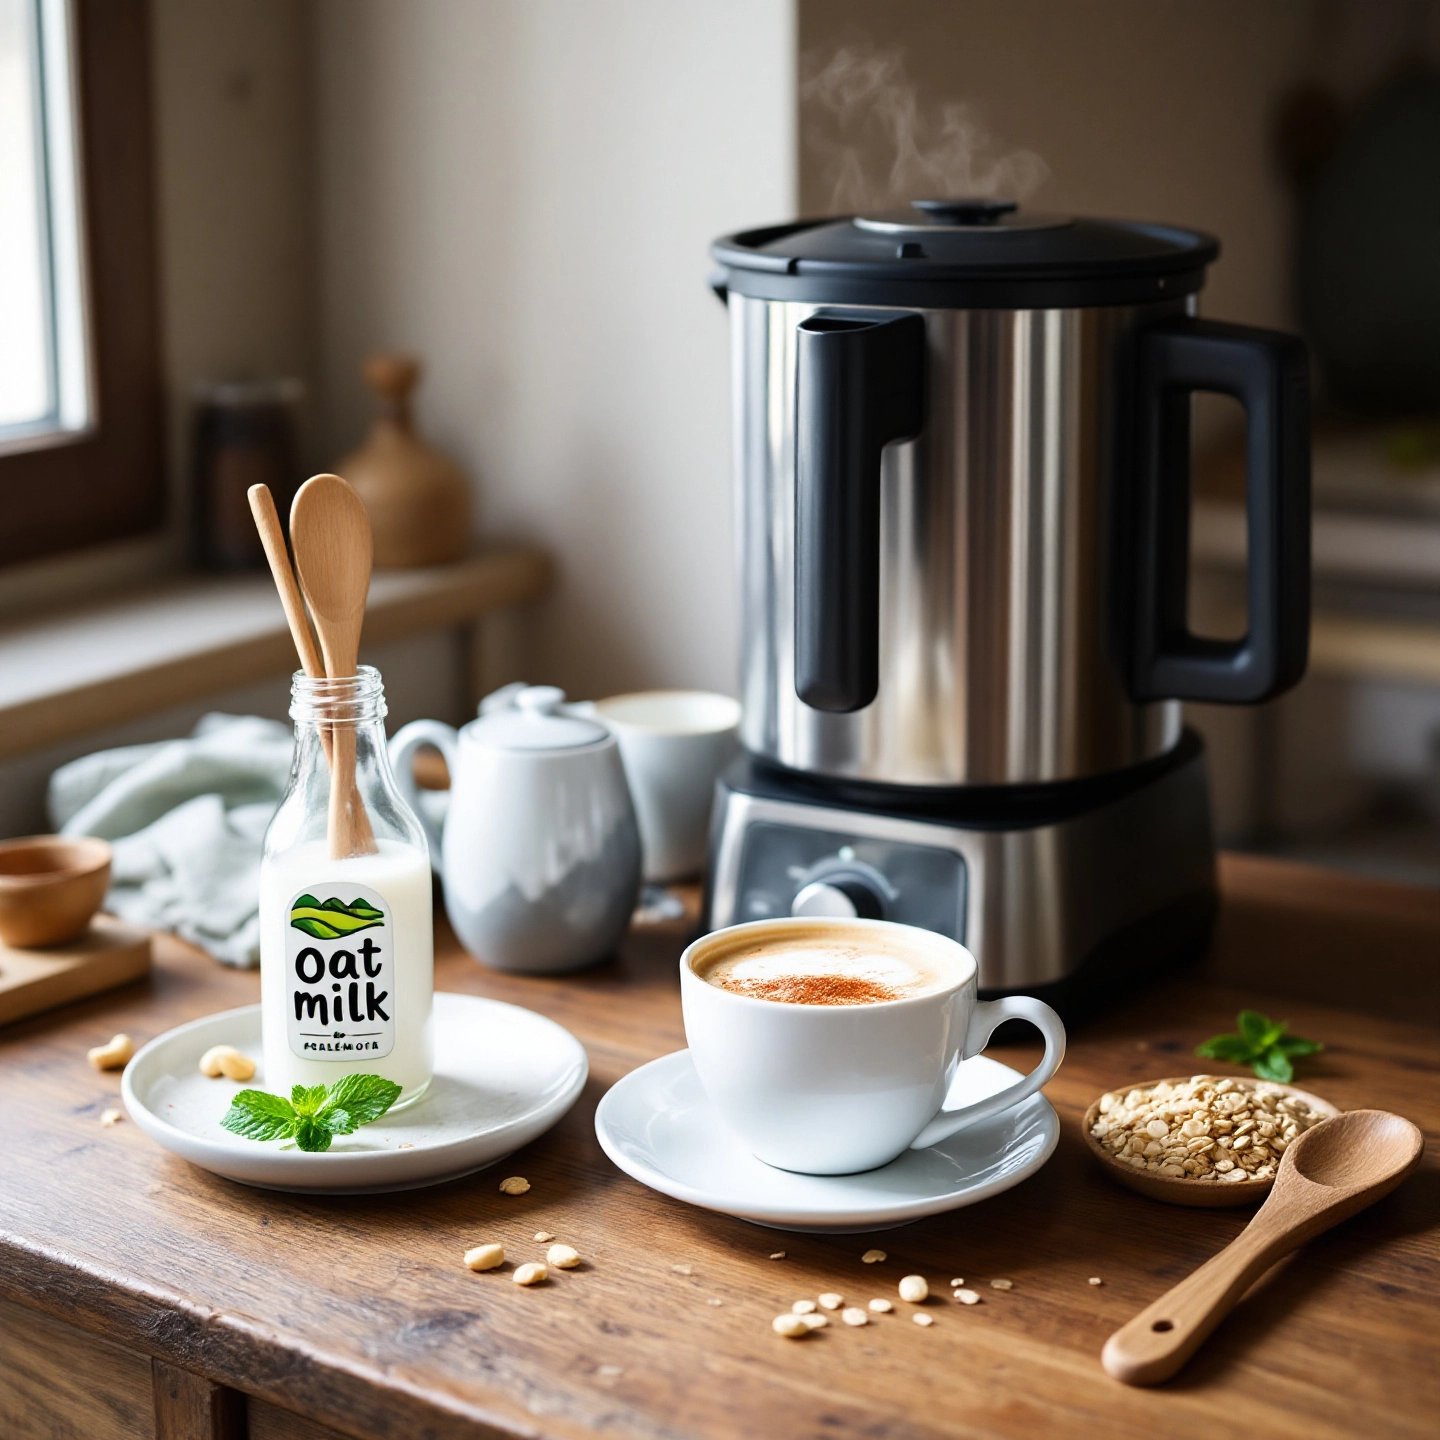
Master frothing techniques for homemade oat milk lattes (AI-generated)
Enhancing Frothing and Steaming Capabilities
Creating that perfect frothy top on your homemade oat milk latte is like achieving a culinary masterpiece. The secret lies in understanding the role of fats and proteins. These elements are crucial for creating a stable foam that doesn’t collapse the moment you pour it over your espresso. Barista oat milk often contains added fats, which help form a creamy, lasting foam. At home, you can mimic this by adding a small amount of oil or using ingredients like cashews to boost the fat content naturally.
When it comes to frothing oat milk, there are several methods you can try. A steam wand is the gold standard for frothing, and while it may seem intimidating, practice makes perfect. Start by positioning the steam wand just below the surface of the milk to introduce air. This creates the foam. Then, submerge the wand slightly deeper to create a whirlpool effect, ensuring the foam is evenly distributed. If you don’t have a steam wand, a handheld milk frother or even a simple jar can do the trick—though the results might not be as velvety.
Temperature is key when steaming oat milk. Aim for about 150°F to 155°F for the perfect froth. This range ensures the milk is hot enough to create foam but not so hot that it scorches, which can lead to an unpleasant taste. If you’re using a thermometer, this is the sweet spot to aim for. No thermometer? No problem. You can gauge the temperature by feeling the side of your frothing pitcher; it should be hot but not uncomfortable to touch.
Latte Art Techniques
Once you’ve mastered frothing, why not try your hand at some latte art? The key to successful latte art is the consistency of the microfoam. It should be smooth and velvety, allowing you to pour designs with ease. Start simple with basic heart shapes or rosettas, and as you gain confidence, experiment with more complex designs. Remember, even baristas had to start somewhere, so don’t be discouraged by a few spills or wonky shapes!
With these techniques, you’ll be able to froth homemade oat milk like a pro, bringing café-quality lattes right into your kitchen. Now that you’ve got the frothing down, let’s tackle common issues you might face in the next section.
Troubleshooting Common Issues
Making barista oat milk at home can sometimes feel like solving a puzzle. You might encounter a few hiccups along the way, but don’t worry—most problems have simple solutions. One common issue is separation, where the milk and water part ways like a bad breakup. This often happens because the fat content isn’t high enough. To fix this, try adding a bit more oil or blend your oats with cashews for a creamier consistency. Remember, a little fat goes a long way in keeping everything together.
Another challenge is graininess, which can be a real mood killer when you’re sipping your morning coffee. This usually occurs if the oats aren’t blended properly or if the straining method isn’t up to par. To combat this, ensure you’re blending the mixture thoroughly but not excessively. Strain the milk through a fine cheesecloth or a nut milk bag to catch any stray oat bits. If you’re still finding gritty textures, consider a double strain for extra smoothness.
Then there’s the dreaded sliminess, a problem that can make your oat milk resemble a science experiment gone wrong. Sliminess often results from over-blending or using warm water. Stick to cold water, and keep blending times short—about 30 to 45 seconds should do the trick. If you’re feeling adventurous, adding a pinch of salt can help enhance the flavor and reduce any slickness.
Dealing with Curdling in Coffee
Curdling can be particularly frustrating, especially when you’re trying to impress with a homemade latte. This happens when oat milk is added to very hot or acidic coffee. To prevent this, let your coffee cool slightly before adding the milk. Alternatively, choose a low-acid coffee blend to reduce the chances of curdling (source). Remember, even if it looks a bit off, it’s still safe to drink.
By addressing these common issues, you can refine your oat milk-making process and enjoy a smoother, creamier result. With these troubleshooting tips in your toolkit, you’re well on your way to mastering homemade barista oat milk. Up next, let’s explore how to store and use your oat milk to keep it fresh and delicious.

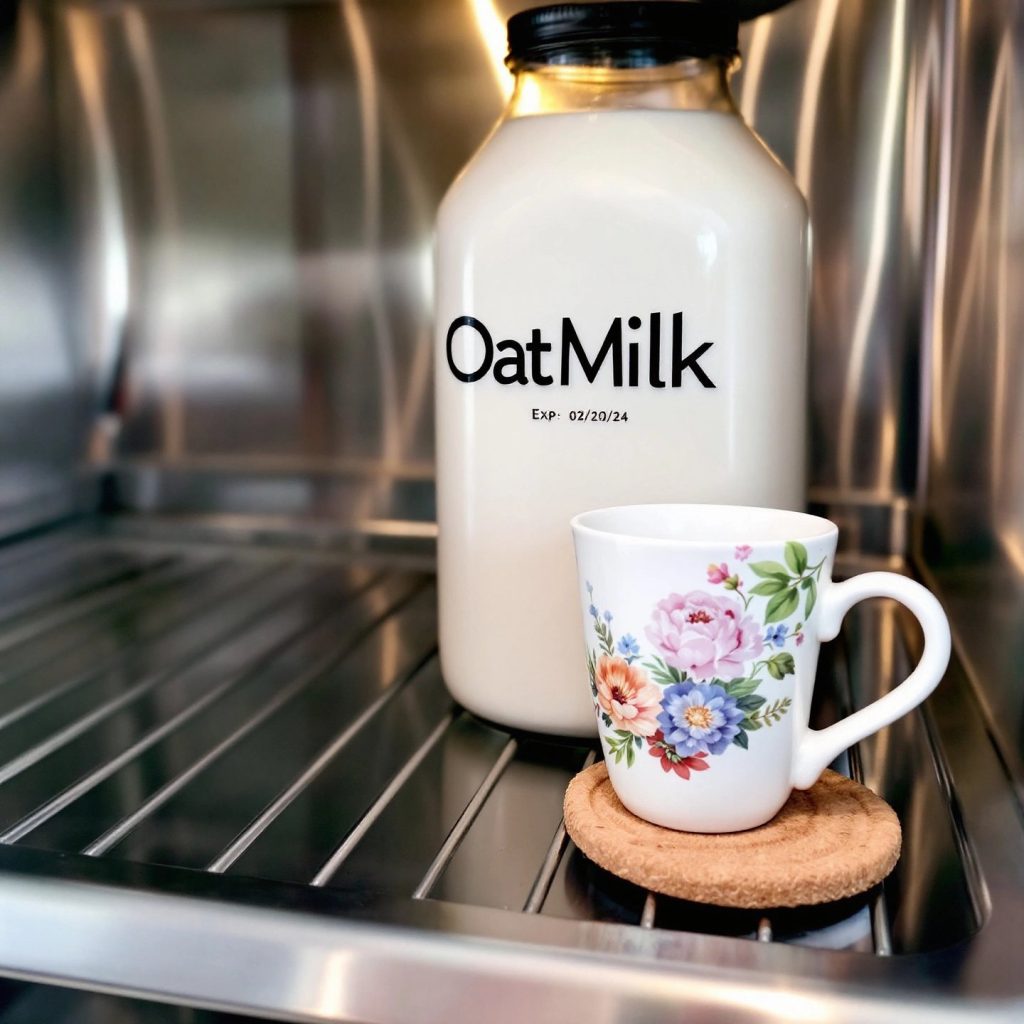
Proper storage ensures fresh, delicious oat milk (AI-generated)
Storing and Using Your Homemade Barista Oat Milk
Once you’ve perfected your homemade barista oat milk, you’ll want to store it properly to ensure it stays fresh and delicious. Typically, homemade oat milk lasts about 3 to 5 days when refrigerated. To maximize its shelf life, store it in a clean, airtight glass container. This helps prevent any unwanted odors from seeping in and keeps your oat milk tasting its best.
Keep an eye out for signs of spoilage, such as a sour smell or a change in texture. If it starts to smell funky or looks separated beyond repair, it’s time to whip up a fresh batch. Remember, homemade oat milk lacks the preservatives found in store-bought versions, so it naturally has a shorter shelf life.
Now, let’s talk about the fun part—using your oat milk in various coffee drinks and recipes. For a classic start, try making a creamy latte or cappuccino. The frothy texture of your barista-style oat milk is perfect for creating those beautiful latte art designs. If you’re in the mood for something sweet, consider adding a splash of vanilla extract or blending in some melted chocolate for a decadent twist.
Oat milk isn’t just for coffee, though. It works wonderfully in smoothies, adding a creamy base without overpowering other flavors. You can also use it in baking, like in vegan pancakes or muffins, where it adds moisture and a subtle sweetness. For those chilly mornings, a warm mug of spiced oat milk can be a comforting treat.
With these storage tips and creative uses, your homemade oat milk will become a versatile staple in your kitchen. Next, we’ll wrap up by summarizing the key points and encouraging you to continue experimenting with your oat milk recipes.
Conclusion: Perfecting Your Barista Oat Milk Game
As we wrap up this journey into the world of homemade barista oat milk, let’s take a moment to savor the highlights. Crafting your own oat milk offers a unique blend of satisfaction and creativity. You get to control every aspect, from the creaminess to the sweetness, tailoring it to your taste buds. Plus, there’s nothing quite like the pride of sipping a latte made with your very own creation.
Remember, the best homemade barista oat milk tips often involve a bit of experimentation. Don’t be afraid to tweak the ingredients or try new techniques until you find your perfect blend. Whether it’s adding a touch of vanilla or experimenting with different oils for frothing, each attempt brings you closer to your ideal oat milk.
Beyond the delicious taste and creamy texture, making oat milk at home also has its environmental perks. It’s a more sustainable choice, reducing your carbon footprint compared to traditional dairy milk. And let’s not forget the cost savings—your wallet will thank you!
While homemade oat milk is a fantastic option, those seeking consistent results might consider investing in a dedicated plant milk maker. These devices can streamline the process, ensuring you get the perfect texture every time. For more information on top plant milk makers of 2025, check out our guide here.
In the end, the benefits of making oat milk at home extend beyond the kitchen. It’s about embracing a healthier, more personalized way of living. So, keep experimenting, stay curious, and enjoy the delightful journey of perfecting your barista oat milk game!
Frequently Asked Questions
1. What makes oat milk barista style?
Barista-style oat milk is enriched with fats and sometimes enzymes to enhance its creaminess and frothing ability, making it ideal for coffee drinks.
2. How can I prevent homemade oat milk from becoming slimy?
Use cold water and blend for 30-45 seconds to avoid sliminess. Strain with a fine cheesecloth to ensure a smooth texture.
3. Why does homemade oat milk separate?
Separation occurs due to low fat content. Adding a bit more oil or using cashews can help maintain a consistent texture.
4. How do I froth homemade oat milk?
For frothing, use a steam wand or milk frother. Incorporate fats like oil or cashews to enhance foam stability.
5. How should I store homemade oat milk?
Store in an airtight container in the fridge for 3-5 days. Shake well before use to mix any natural separation.
